
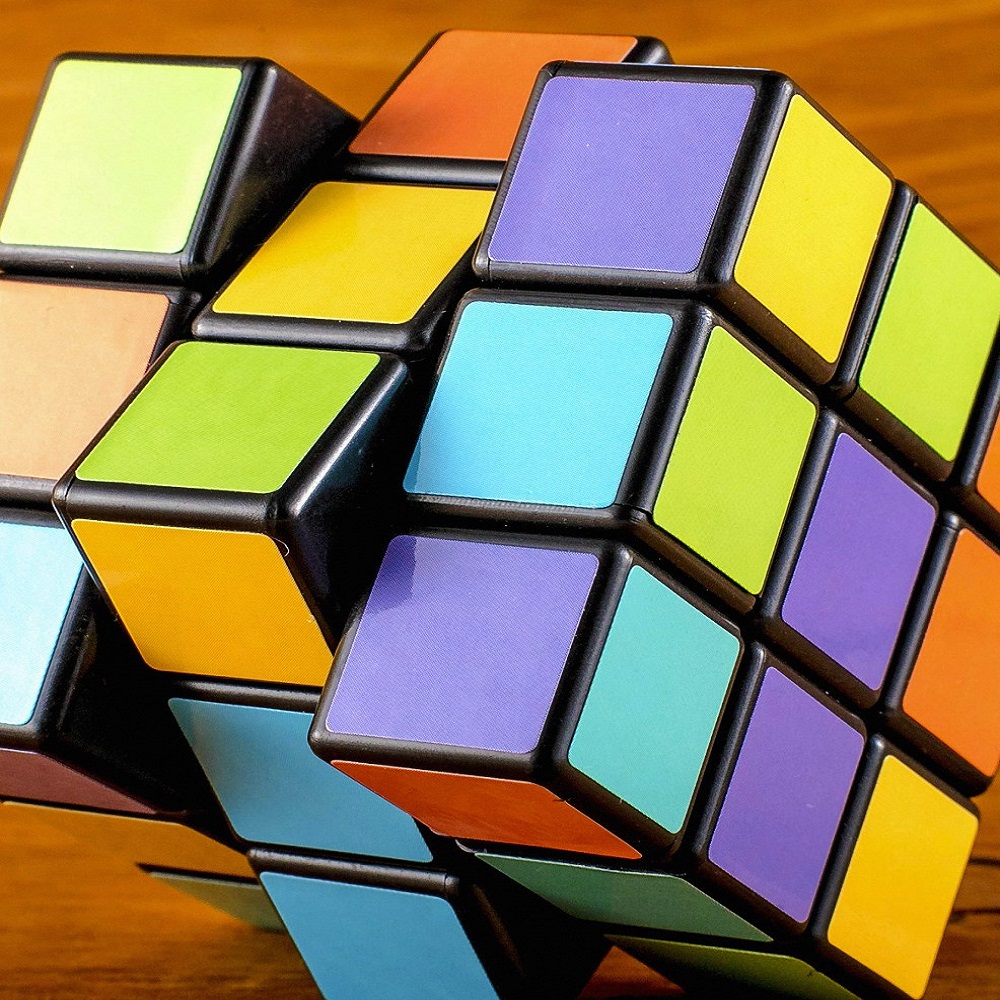
The Rubik’s Cube, a colorful icon of logic and problem-solving, has baffled and captivated minds for decades. But don’t be intimidated by its seemingly complex structure! With a little guidance, you can unlock the secrets of the cube and achieve the satisfying “click” of a perfect solve. This guide breaks down the process into four manageable steps, making the Rubik’s Cube a fun and rewarding challenge for beginners.
Part 1: The White Cross
Building the Base:
To begin solving the Rubik’s cube, the initial goal is to construct a white cross on the top face. Commence by identifying any white edge piece and rotating the cube until the non-white color of the edge piece aligns with the center square on the matching side. For instance, if you have a white-blue edge piece, ensure that the blue side aligns with the blue center.
After this alignment, maneuver the edge piece to the top layer, placing the white face on top and aligning the colored face with the corresponding center piece. Repeating this sequence for all four white edges will result in the formation of a white cross on the top face of the Rubik’s cube. This step marks a fundamental accomplishment in the solving process and demonstrates a solid grasp of the basic maneuvers required to tackle the cube’s intricate patterns and configurations, setting the stage for the subsequent stages of solving the Rubik’s cube.
Spot the White Corner:
Firstly, let’s address the white corner pieces. Start by locating a white corner piece on the top layer and take note of its other two colors. Rotate the top layer until you align this specific corner above its designated spot, where its other two colors match the adjacent center squares. To effectively position the corner piece into its correct spot, apply specific algorithms designed for this purpose. Don’t worry if this appears intricate at the moment, as we will delve into these algorithms shortly! Mastering the techniques for positioning the white corner pieces is essential in progressing toward a completed solve of the Rubik’s cube and is a significant step forward in understanding and engaging with the complexity of the puzzle.
Part 2: Conquering the Corners
Learning Algorithms:
Algorithms in speedcubing are a set of specific moves designed to manipulate the Rubik’s cube predictably and methodically. When solving the white corners of the cube, there exists a simple and beginner-friendly algorithm that can prove to be instrumental. One commonly employed algorithm involves a four-move sequence: R U R’ U’ – denoting right, up, right prime, up prime. This series of moves is tailored to twist the corner piece into its designated position, effectively completing the solution for that specific corner. The key to mastering this algorithm lies in consistent practice and repetition until the sequence becomes second nature. By incorporating this algorithm into your solving routine and honing your proficiency with it, you will gradually streamline your solving process and enhance your overall speedcubing abilities, allowing for smoother and more efficient solves in the future.
Solving All Corners:
Continue the process from Step 2, Part 1. Systematically identify the white corner pieces located on the top layer. Utilize the learned algorithm to maneuver them into their designated positions. Retrace these steps and apply the algorithms. Efficiently align each of the four white corner pieces. Make sure their colors perfectly match the adjacent centers on the puzzle. This critical step signifies the completion of the first major stage in solving the Rubik’s cube. Achieving this crucial milestone marks a significant advancement in your mastery of the cube, setting the stage for further progress in addressing the puzzle’s complexity. Upon reaching this point, you can now transition to the subsequent phases of solving the Rubik’s cube, equipped with the foundational knowledge and skills required to navigate through the intricate patterns and configurations that arise throughout the solving process.
Part 3: The Second Layer
Matching the Middle Layer:
Moving on to the middle layer of the Rubik’s cube. Your objective is to ensure that each horizontal stripe consists of just two colors. The edge pieces should be aligned correctly. To proceed, identify an edge piece in the middle layer. The colors should not align with the center squares above and below it. Utilize a series of intuitive moves. Manipulate the top or bottom layer. Maneuver the misaligned edge piece until its colors precisely match the corresponding center squares.
By systematically repeating this process for all four middle layer edges, you will successfully create a complete second layer on the cube. This essential step illustrates an advancement in your solving progress and signifies the growing complexity of your understanding of the cube’s structure. Mastering the intricacies of aligning the middle layer edges will set the stage for further advancements. It will lead you closer to solving the entire Rubik’s cube.
Orientation Matters:
When positioning the middle layer edges of the Rubik’s cube, it’s crucial to ensure that they are oriented correctly. This entails verifying that the colored stripes on each edge piece align with the colors of the center squares it touches. It’s essential to pay close attention to this alignment, as it’s a critical aspect of progressing towards the completion of the middle layer.
If you notice that an edge piece is flipped, meaning its colored stripes do not align with the center squares it touches, simply twist the middle layer to resolve its orientation. This adjustment will position the edge piece correctly, bringing you closer to successfully resolving the middle layer of the cube. This attention to detail and correction of the orientation of the middle layer edges sets the stage for the subsequent steps in completing the Rubik’s cube, ensuring that each part of the puzzle is addressed methodically and accurately.
Part 4: The Final Frontier – The Yellow Cross
Building the Yellow Cross:
The final stage of solving the Rubik’s Cube is focusing on the yellow face, traditionally regarded as the top face for beginners. The objective here is to form a yellow cross on the top layer, akin to the white cross constructed in an earlier step. To accomplish this, begin by identifying the yellow edge pieces. Employ a series of intuitive moves, such as twisting the top or middle layer, to maneuver these pieces onto the top layer with the yellow face oriented upwards.
By systematically executing these maneuvers, you can position all four yellow edges in their correct places. This will form the sought-after yellow cross. This marks a crucial turning point in the solving process. It indicates the successful completion of the vast majority of the cube’s layers. It brings you incredibly close to resolving the entire Rubik’s Cube. Upon achieving this milestone, you’ll be on the brink of completing the challenging and intricate solve of the Rubik’s Cube.
Algorithms for the Yellow Layer:
The final steps involve specific algorithms for positioning and orienting the yellow corner pieces. These algorithms might be slightly more complex than the white corner ones, but with practice, they become manageable. There are various resources online with visual aids and step-by-step instructions for these algorithms.
Congratulations! By following these easy steps and practicing the algorithms, you’ve conquered the Rubik’s Cube! Remember, solving the cube takes time and dedication. Do not lose heart if you do not understand it right away. Keep practicing, have fun, and enjoy the satisfaction of achieving a perfect solve!


